A Quick Guide to Arduino Programming
Unlike the traditional C/C++ programming languages that the Arduino language is based off of, the Arduino language doesn't require a "main" function to dictate how the program is run. Instead, it is broken up into a setup and loop function that, like their names suggest, provide a place to put code that should only be executed when the power is immediately turned on and a place for code that should continuously be executed until the power is turned off. This is incredibly similar to the Processing language's setup and draw functions that allow for rapid software development and served as a source of inspiration for the Arduino project.
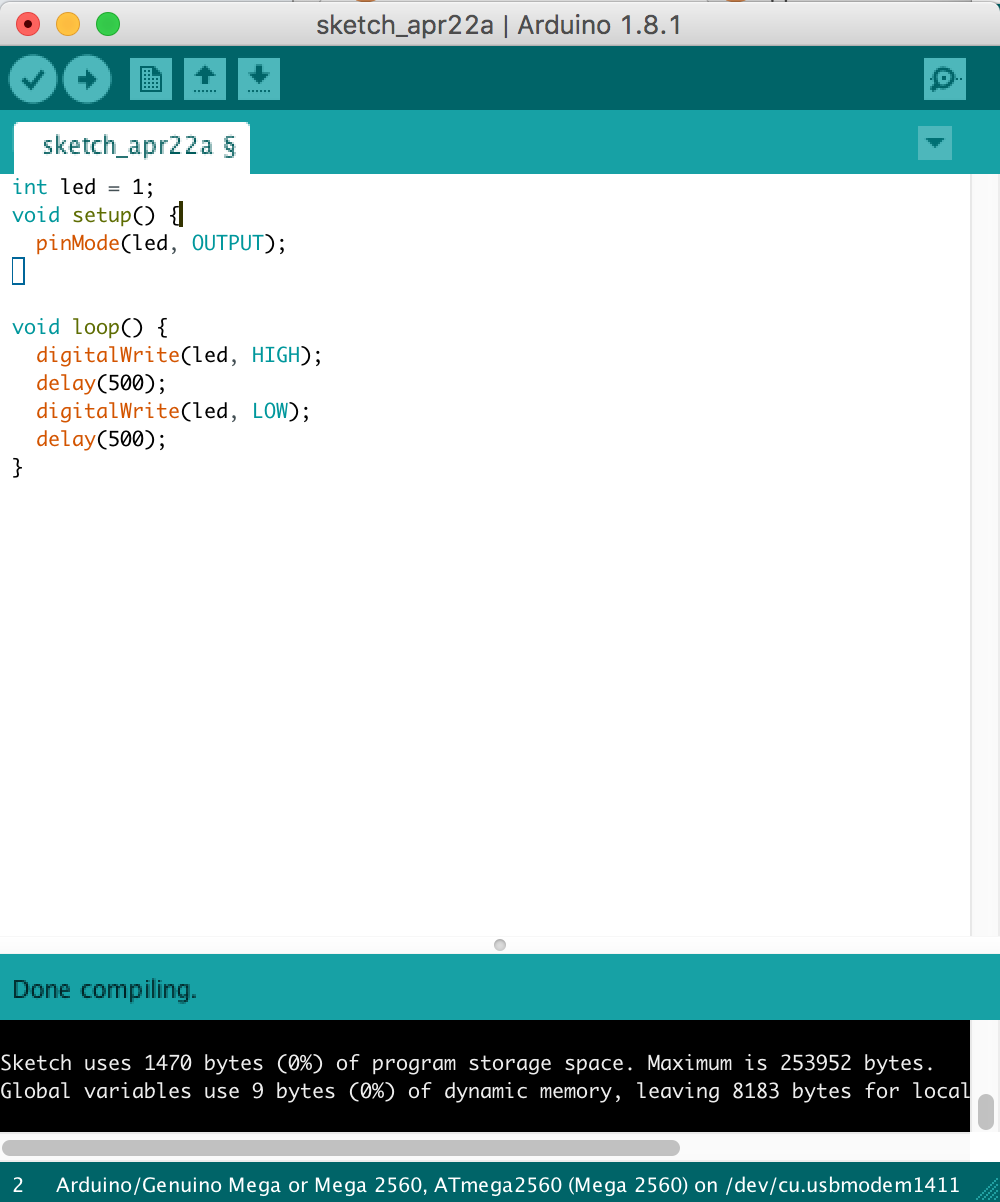
The image above shows a basic program or "sketch" that turns an LED on for 500 milliseconds and then off for another 500 milliseconds and continues in a repeated loop. As can be seen from this sketch, a pinMode has to be declared in the setup function to tell the Arduino which digital pins on the board to use (in the case above it uses pin 1) and the loop function provides a place for the actual turning on and off of the LED. Instead of just writing a "1" every time the LED needs to be turned on or off however, a global integer variable name "led" is used as a sort of placeholder to both make the code more readable and to make it easier to update if this pin was ever changed. In a regular C or C++ program, the use of global variables is strongly advised against due to them being completely accessible by every function in the file, which both "pollutes" their scope and provides a potential security vulnerability if this one global value is manipulated. In the Arduino environment however, many boards do not have a large amount of memory to work with and can't afford to strictly follow these "proper" coding standards so it is very common to see a multitude of global variables in a typical arduino program.
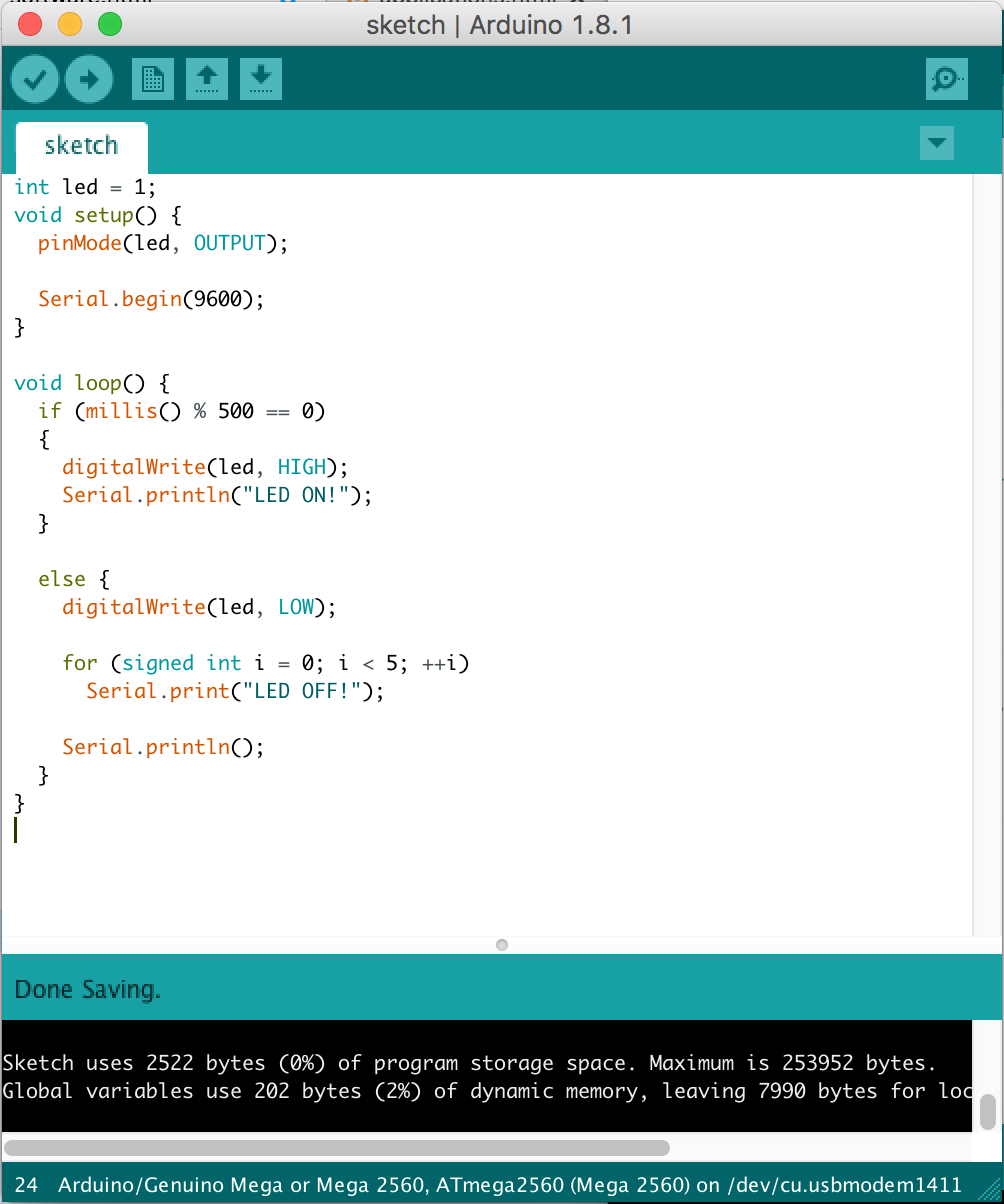
When executed, the above code essentially has the same external results as the previous LED blinking code using the delay function, however, it is different in a few key ways. The first difference lies in the setup function where there is now a call to something named Serial.begin(9600). This function (actually this is a member function, but to describe what this is would involve going more into depth about object oriented programming and is beyond the scope of understanding the higher level details of what is being done) opens a channel via the usb cable (over what is known as serial) connecting from the arduino to the computer and sets a standard data transfer rate of 9600 bits per second. This allows us to send information to the computer from the arduiono that is visible through the use of the Serial Monitor, which is the button in the top right corner of the Arduino Integrated Development Environment (IDE). Next, in the loop function, there is no sign of a call to the delay function. This is because the delay function works by "stopping" the entire program from executing for a given amount of time before continuing. While this is fine for a simple program that just blinks an LED, this could be problematic for larger scale programs. So instead of using delay, a way is needed to only perform a task when a certain amount of time has passed. To do this, we can manipulate something that is a part of every major programming language known as the flow of control structure. This syntax is inherently self explanatory when written in code; if some statement is true, then do this, else (if it is not true) do this. With these if-statements at our disposal, we can now move on to figuring out how to decide to tell the arduino to only perform a task at a given time. It just so happens that Arduino has a built in library function for this called millis that returns the amount of time in milliseconds since the program started. Now all we have to do to get an LED to blink at a given time is to use the modulus (%) operator to check whether the current time in milliseconds since the program started is evenly divisible by 500 milliseconds (this is known as modular arithmetic and the operator simply returns the remainder of a number divided by another number). Once this statement evaluates to true, the only thing different that happens in this new program compared to the old one is that the (member) function Serial.println is used which, as its name implies, prints a line of text that is then sent over the serial channel that was opened in setup and is visible on screen when the Serial Monitor is opened. Continuing down through the code, the "else" statement uses the fundamentals described previously with the exception of the line that says for(signed int i = 0; i < 5; ++i). This is another flow of control structure that is used to repeat a task a discrete amount of times. In our case, it works by first declaring an integer that can be either positive or negative (the word "signed" is used to describe this attribute, however, in most cases an "int" is signed by default) and is only visible within the scope of the for-loop structure, then it checks whether the condition "i < 5" is true and executes the body of the for-loop structure if it is and then moves on to the last part of the syntax that says "++i" and works as a unary operator to increment the variable i by 1 and continuously repeats the loop until the condition evaluates to false.

