The building
process of a Jacobs’s
ladder is fairly straight forward and there are many different ways of
doing
it. The main equipment consisted of the following: 1x6 inch piece of
wood, #4
AWG bare solid copper, #12 AWG type XHHW copper wire, 15 amp 120 volt
male plug,
a few wire nuts, and an extension cord. All of the copper wire can most
likely be scrounged from an electrician. The male cord can be purchased
from
any local supply house for a few dollars. I just happened to have this
stuff
sitting around my house so it did not take me long to shop for
everything. The following picture shows
most of the
equipment used in this experiment.
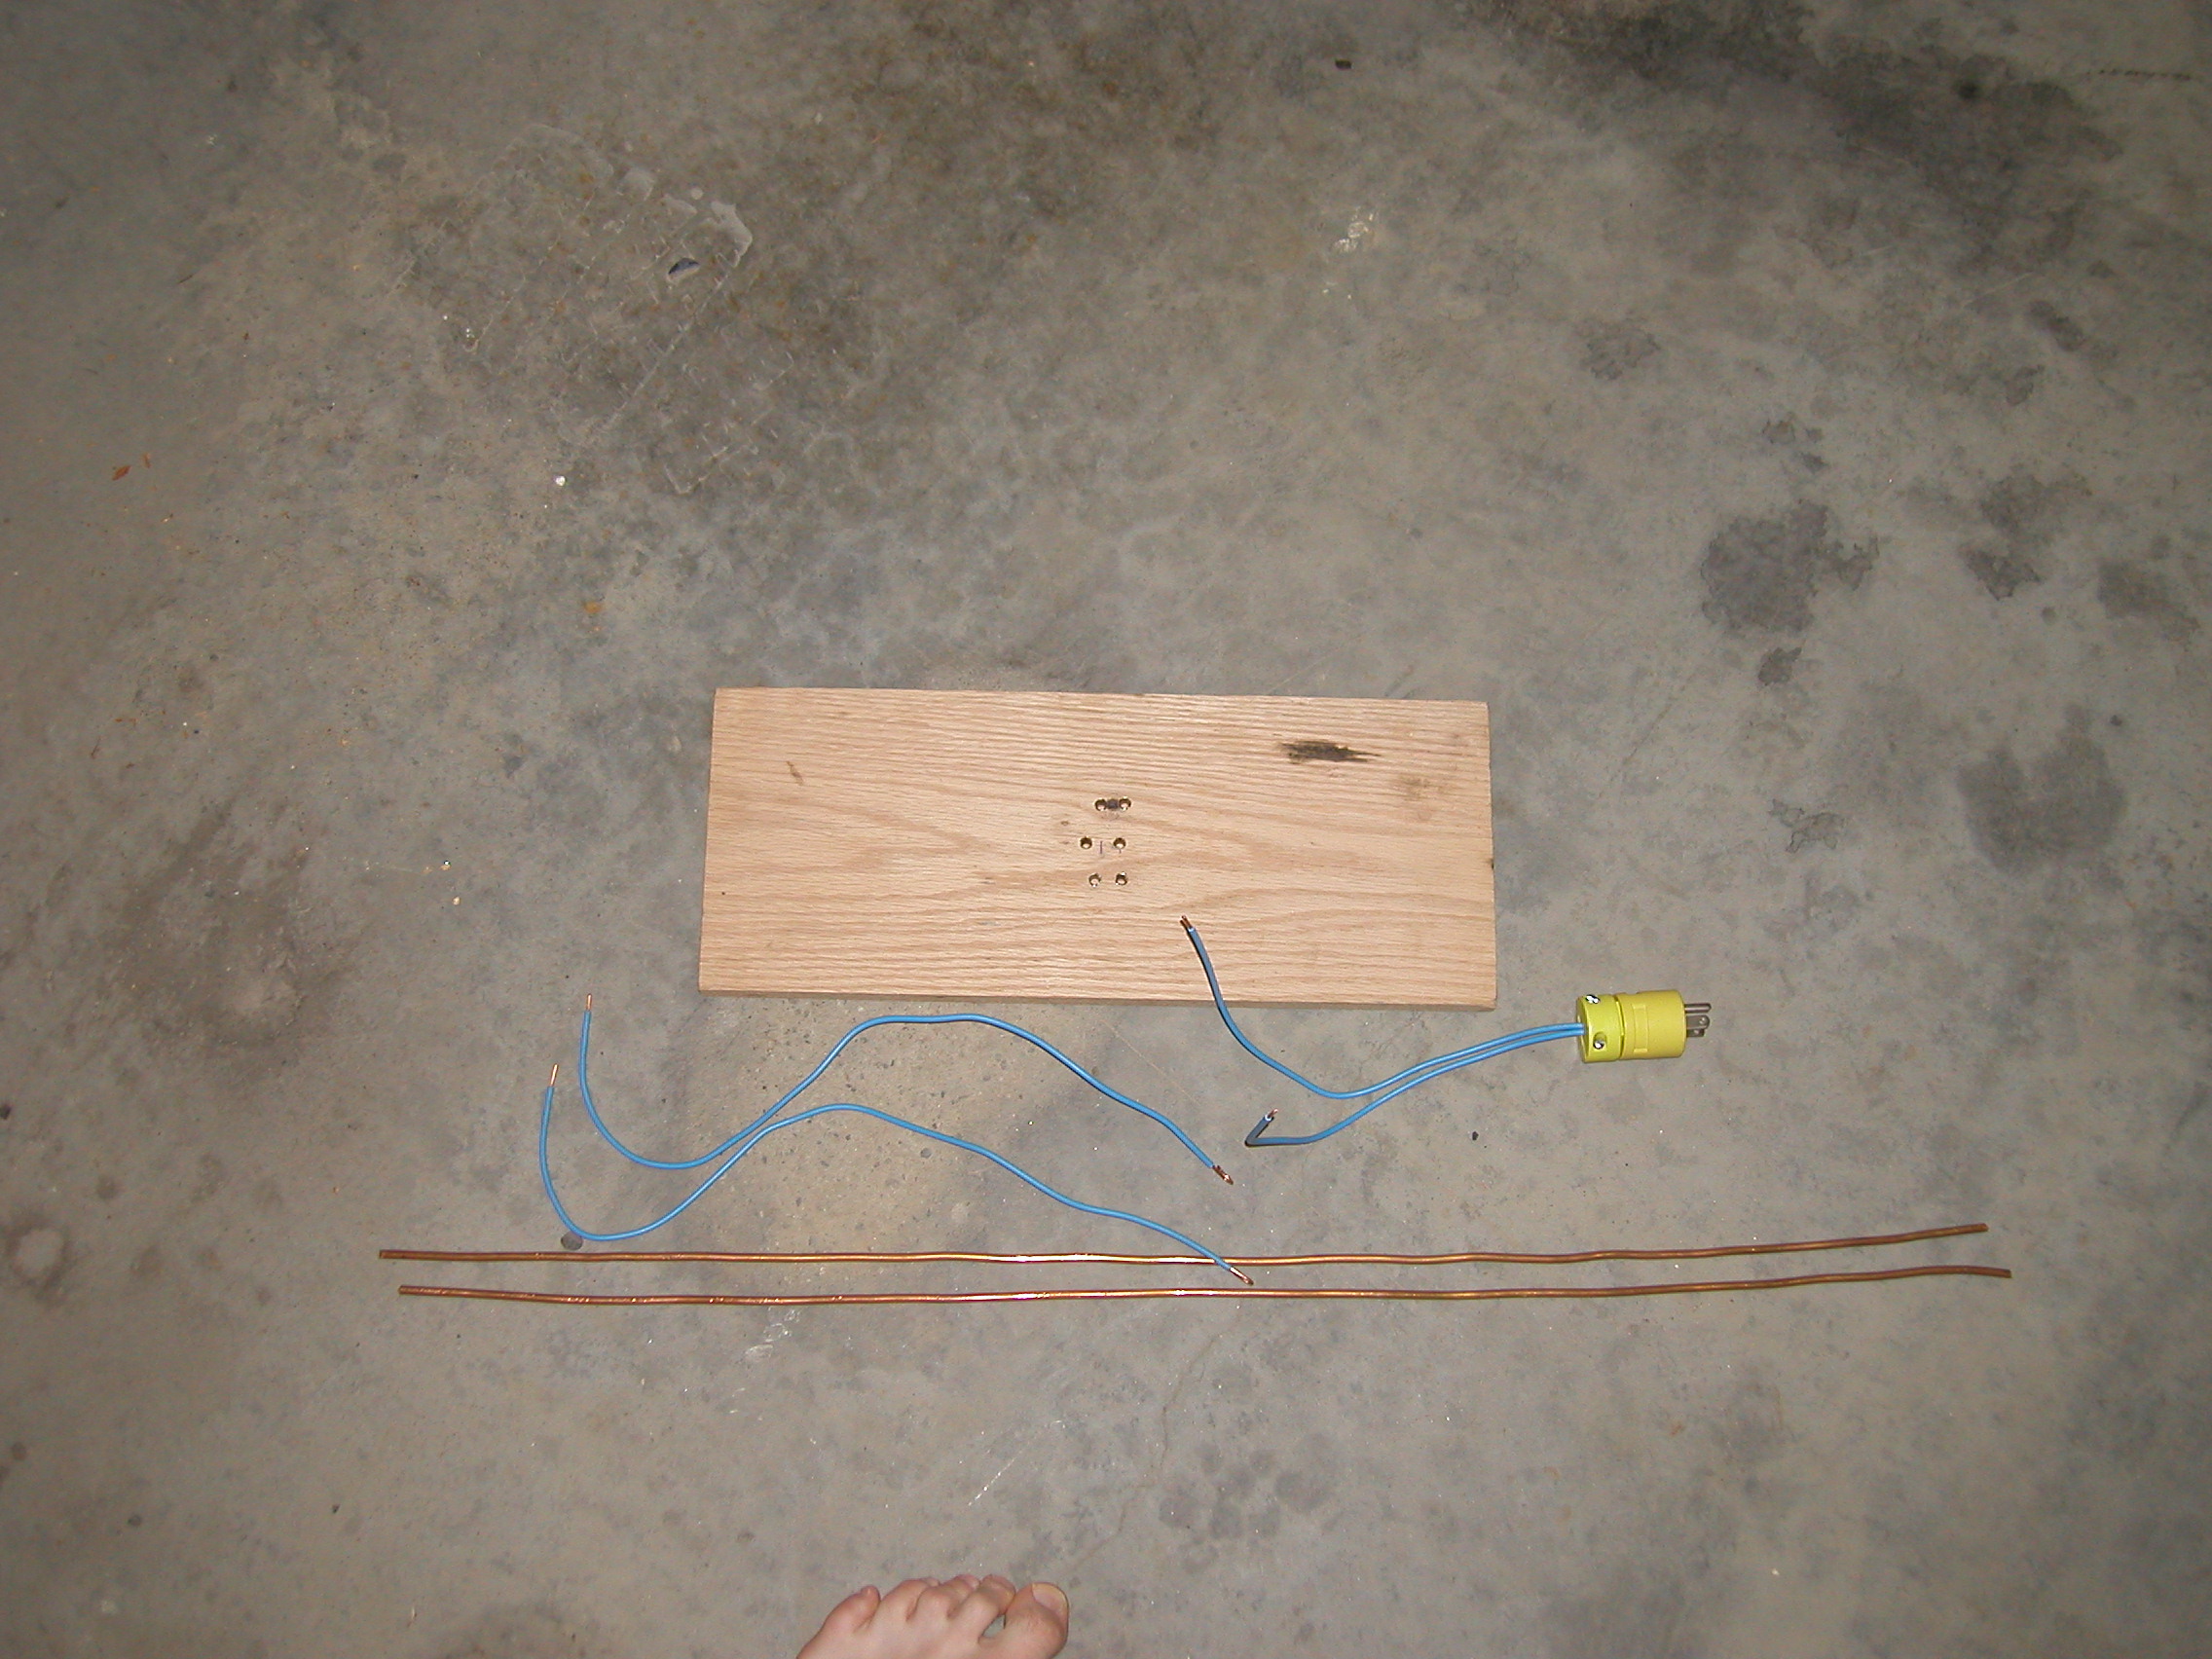
The
1x6 inch piece of wood I bored
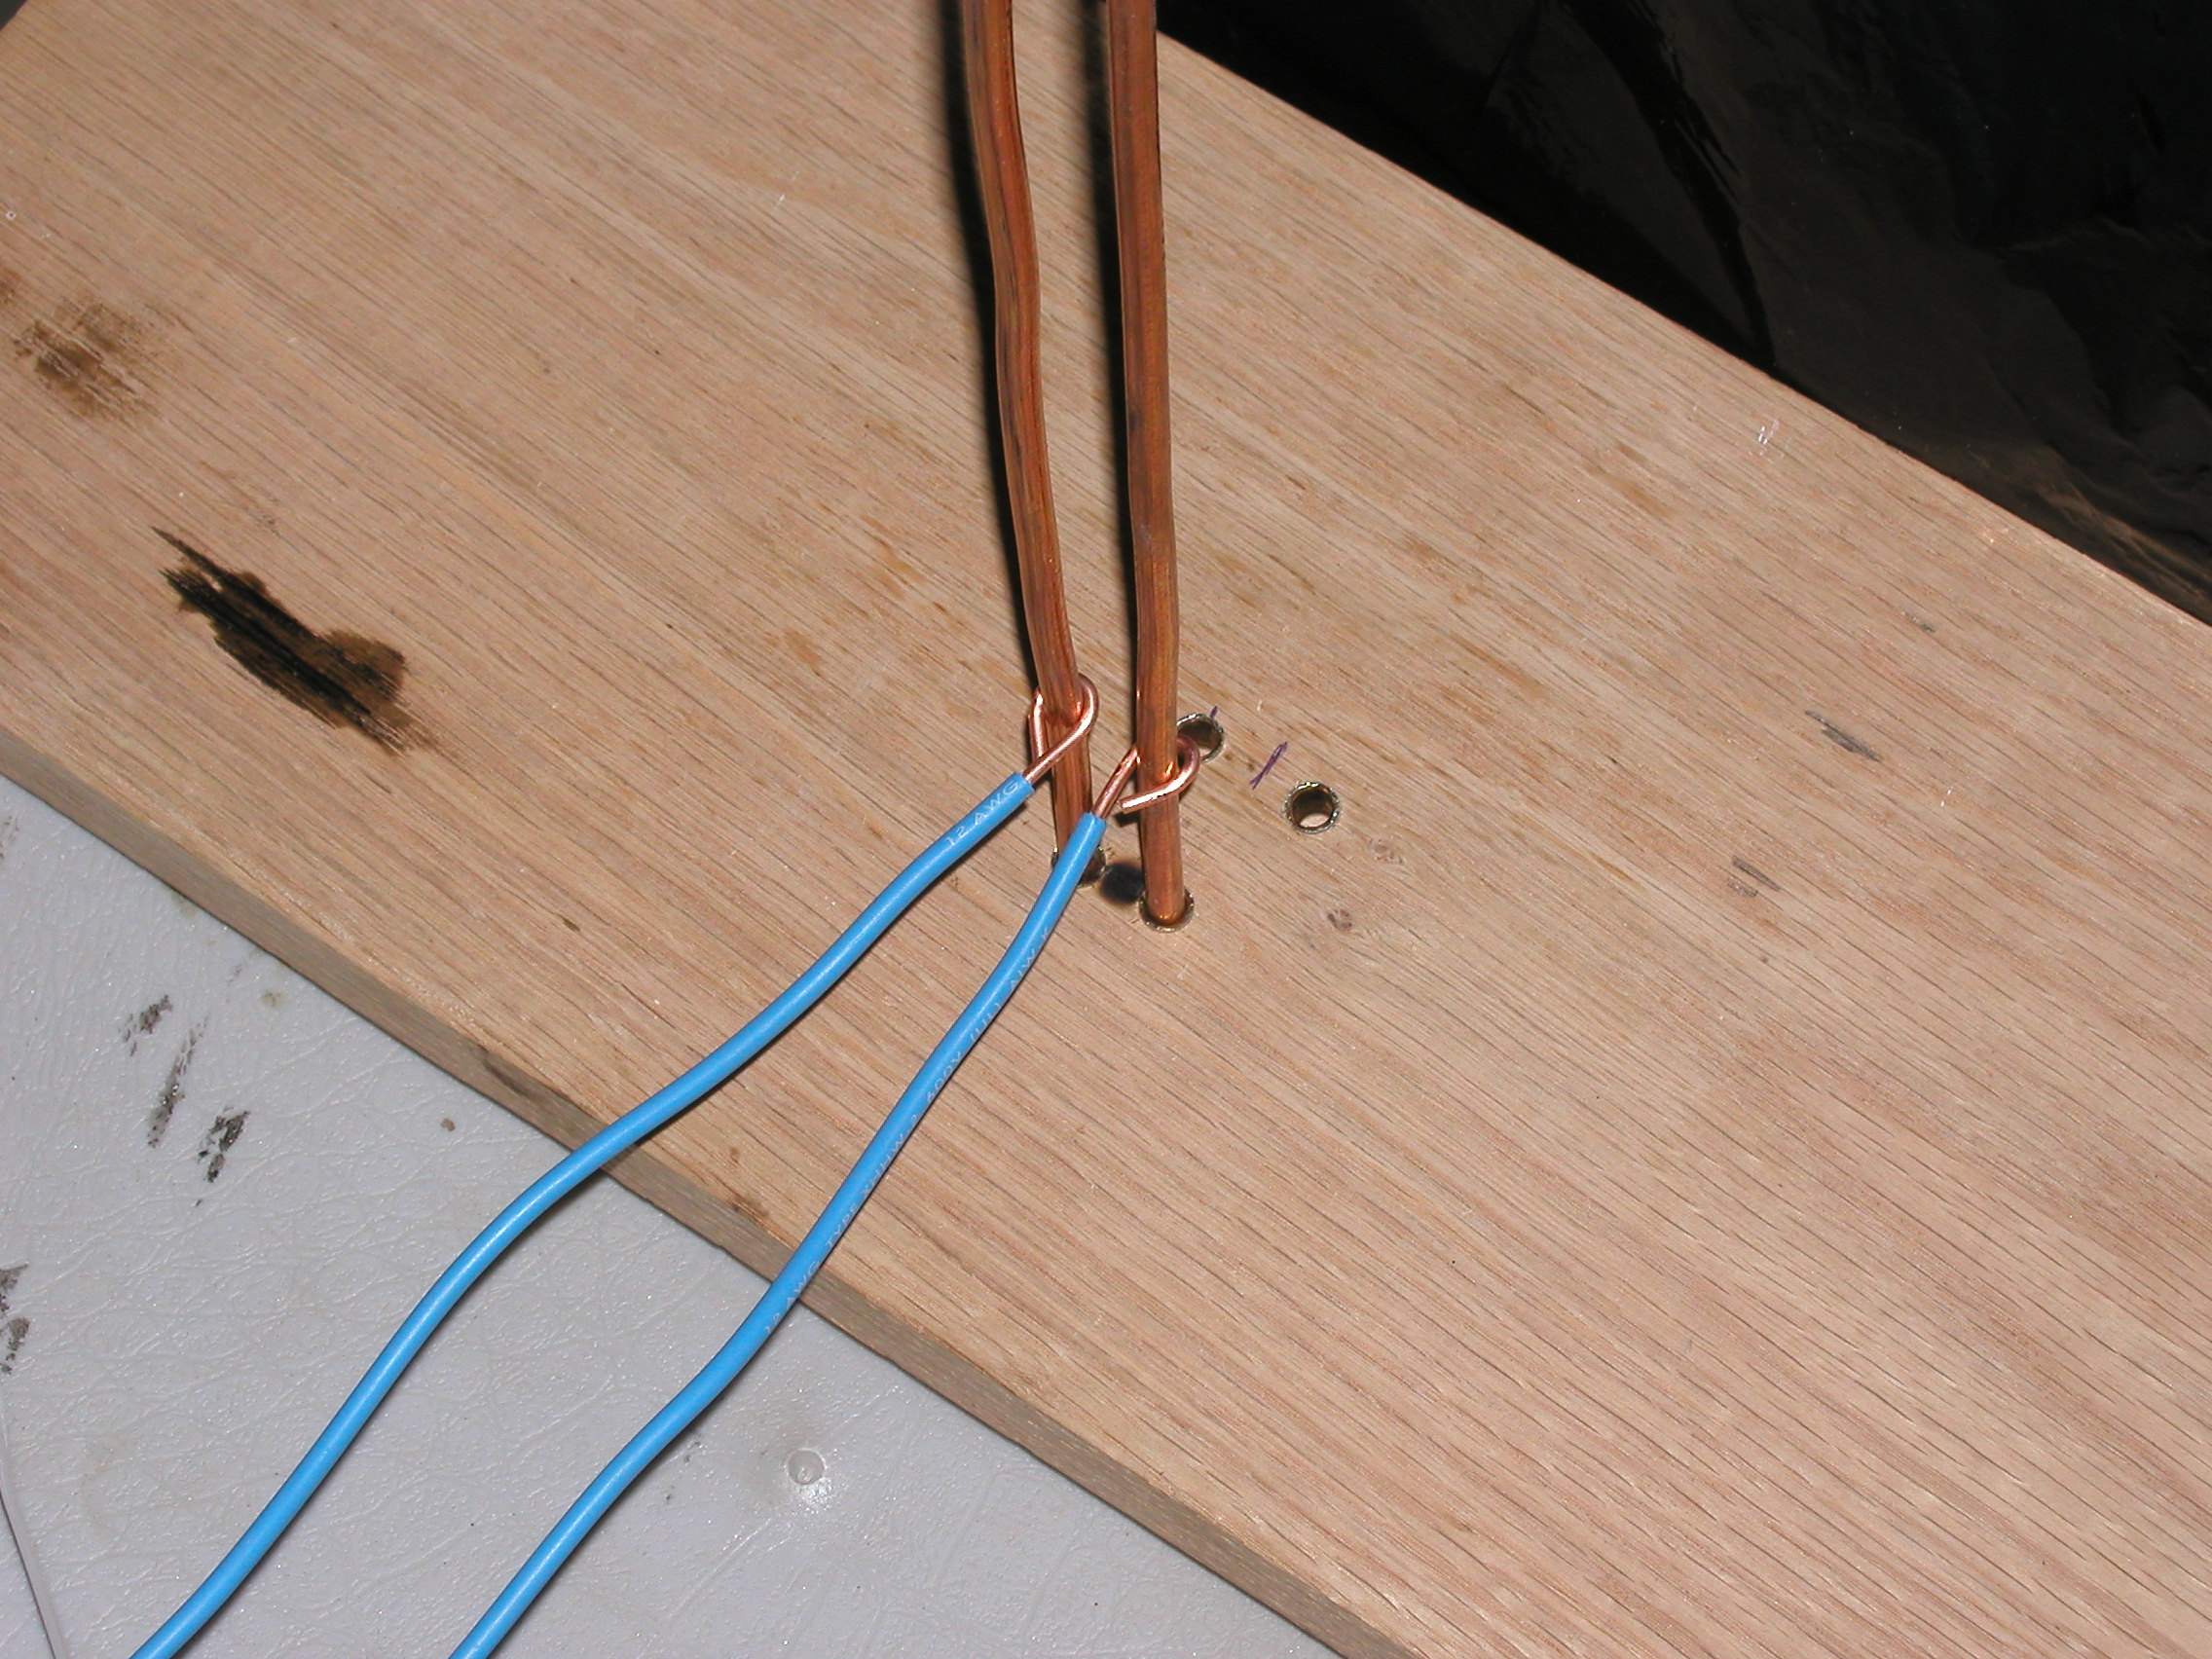
2 quarter inch holes a half inch in depth and width apart. The main
ladder conductor
was the #4 AWG solid copper which was cut into 3 feet lengths and
shaped straightly
as possible. The ladder conductors were then placed into the wood. The
holes
drilled were just large enough so that the conductors would remain in
their
respective holes with out falling out. The ladder conductors were then
pulled
apart at the top of the ladder so that there was a 1 inch gap across
the top.
This made the geometry look like a narrow V. The very top of of the
ladder conductors were bent out away from each other. Then the
#12 XHHW wire was cut
into to pieces of 1.5 feet in length and both ends were stripped. Each
end was
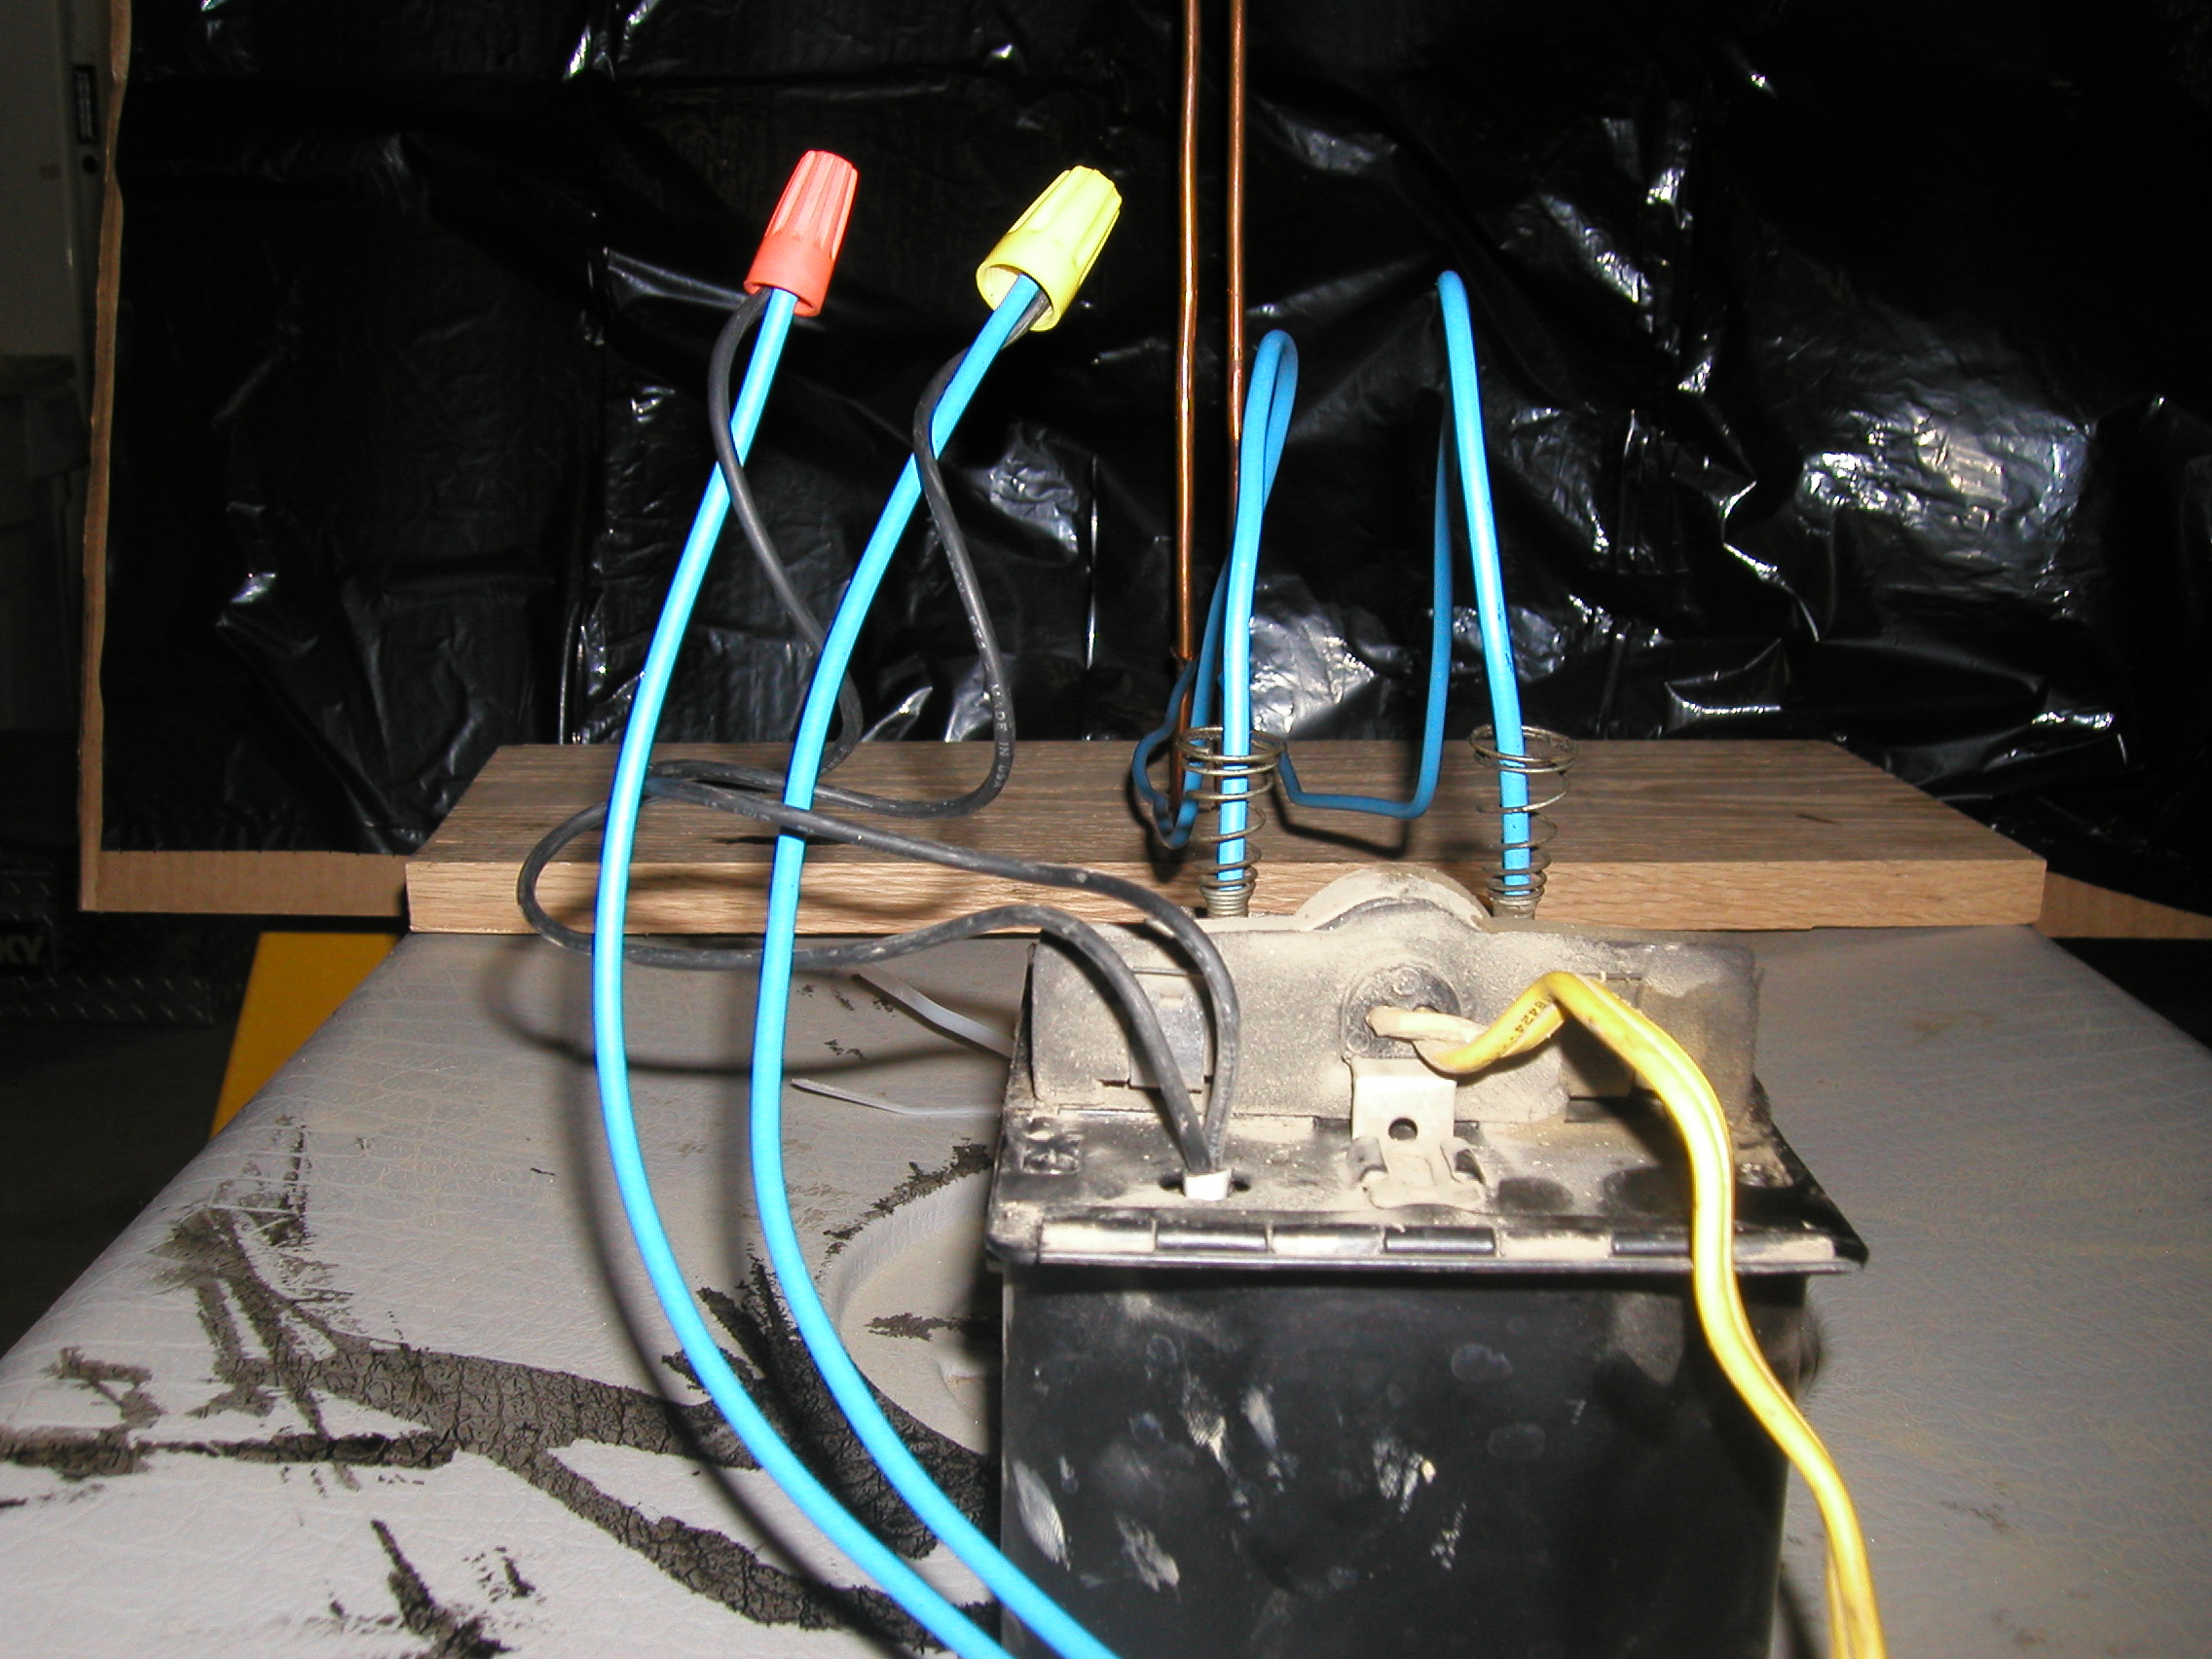
then curled around an individual ladder conductor and the other set of
ends was
connected to the output terminals of the transformer. Bear in mind that
the
insulation for the #12 XHHW wire is only rated up to 600 volts and the
transformer is operating around 10,000 volts. Therefore it is
recommended to
use a cable that is rated for a much higher voltage to connect the
transformer
to the ladder electrodes. One could use some coaxial cable (cable TV
wire)
which is not necessarily rated for high voltages but it is basically
manufactured
the same way as high voltage cable. It has a thick dielectric layer
around a
central conductor with a shield wrapped around the dielectric. This is
a cheap
alternative to buying high voltage cable. The male plug was then
connected two
short chunks of #12 XHHW wire and the other ends were connected to the
line
side of the transformer with wire nuts.
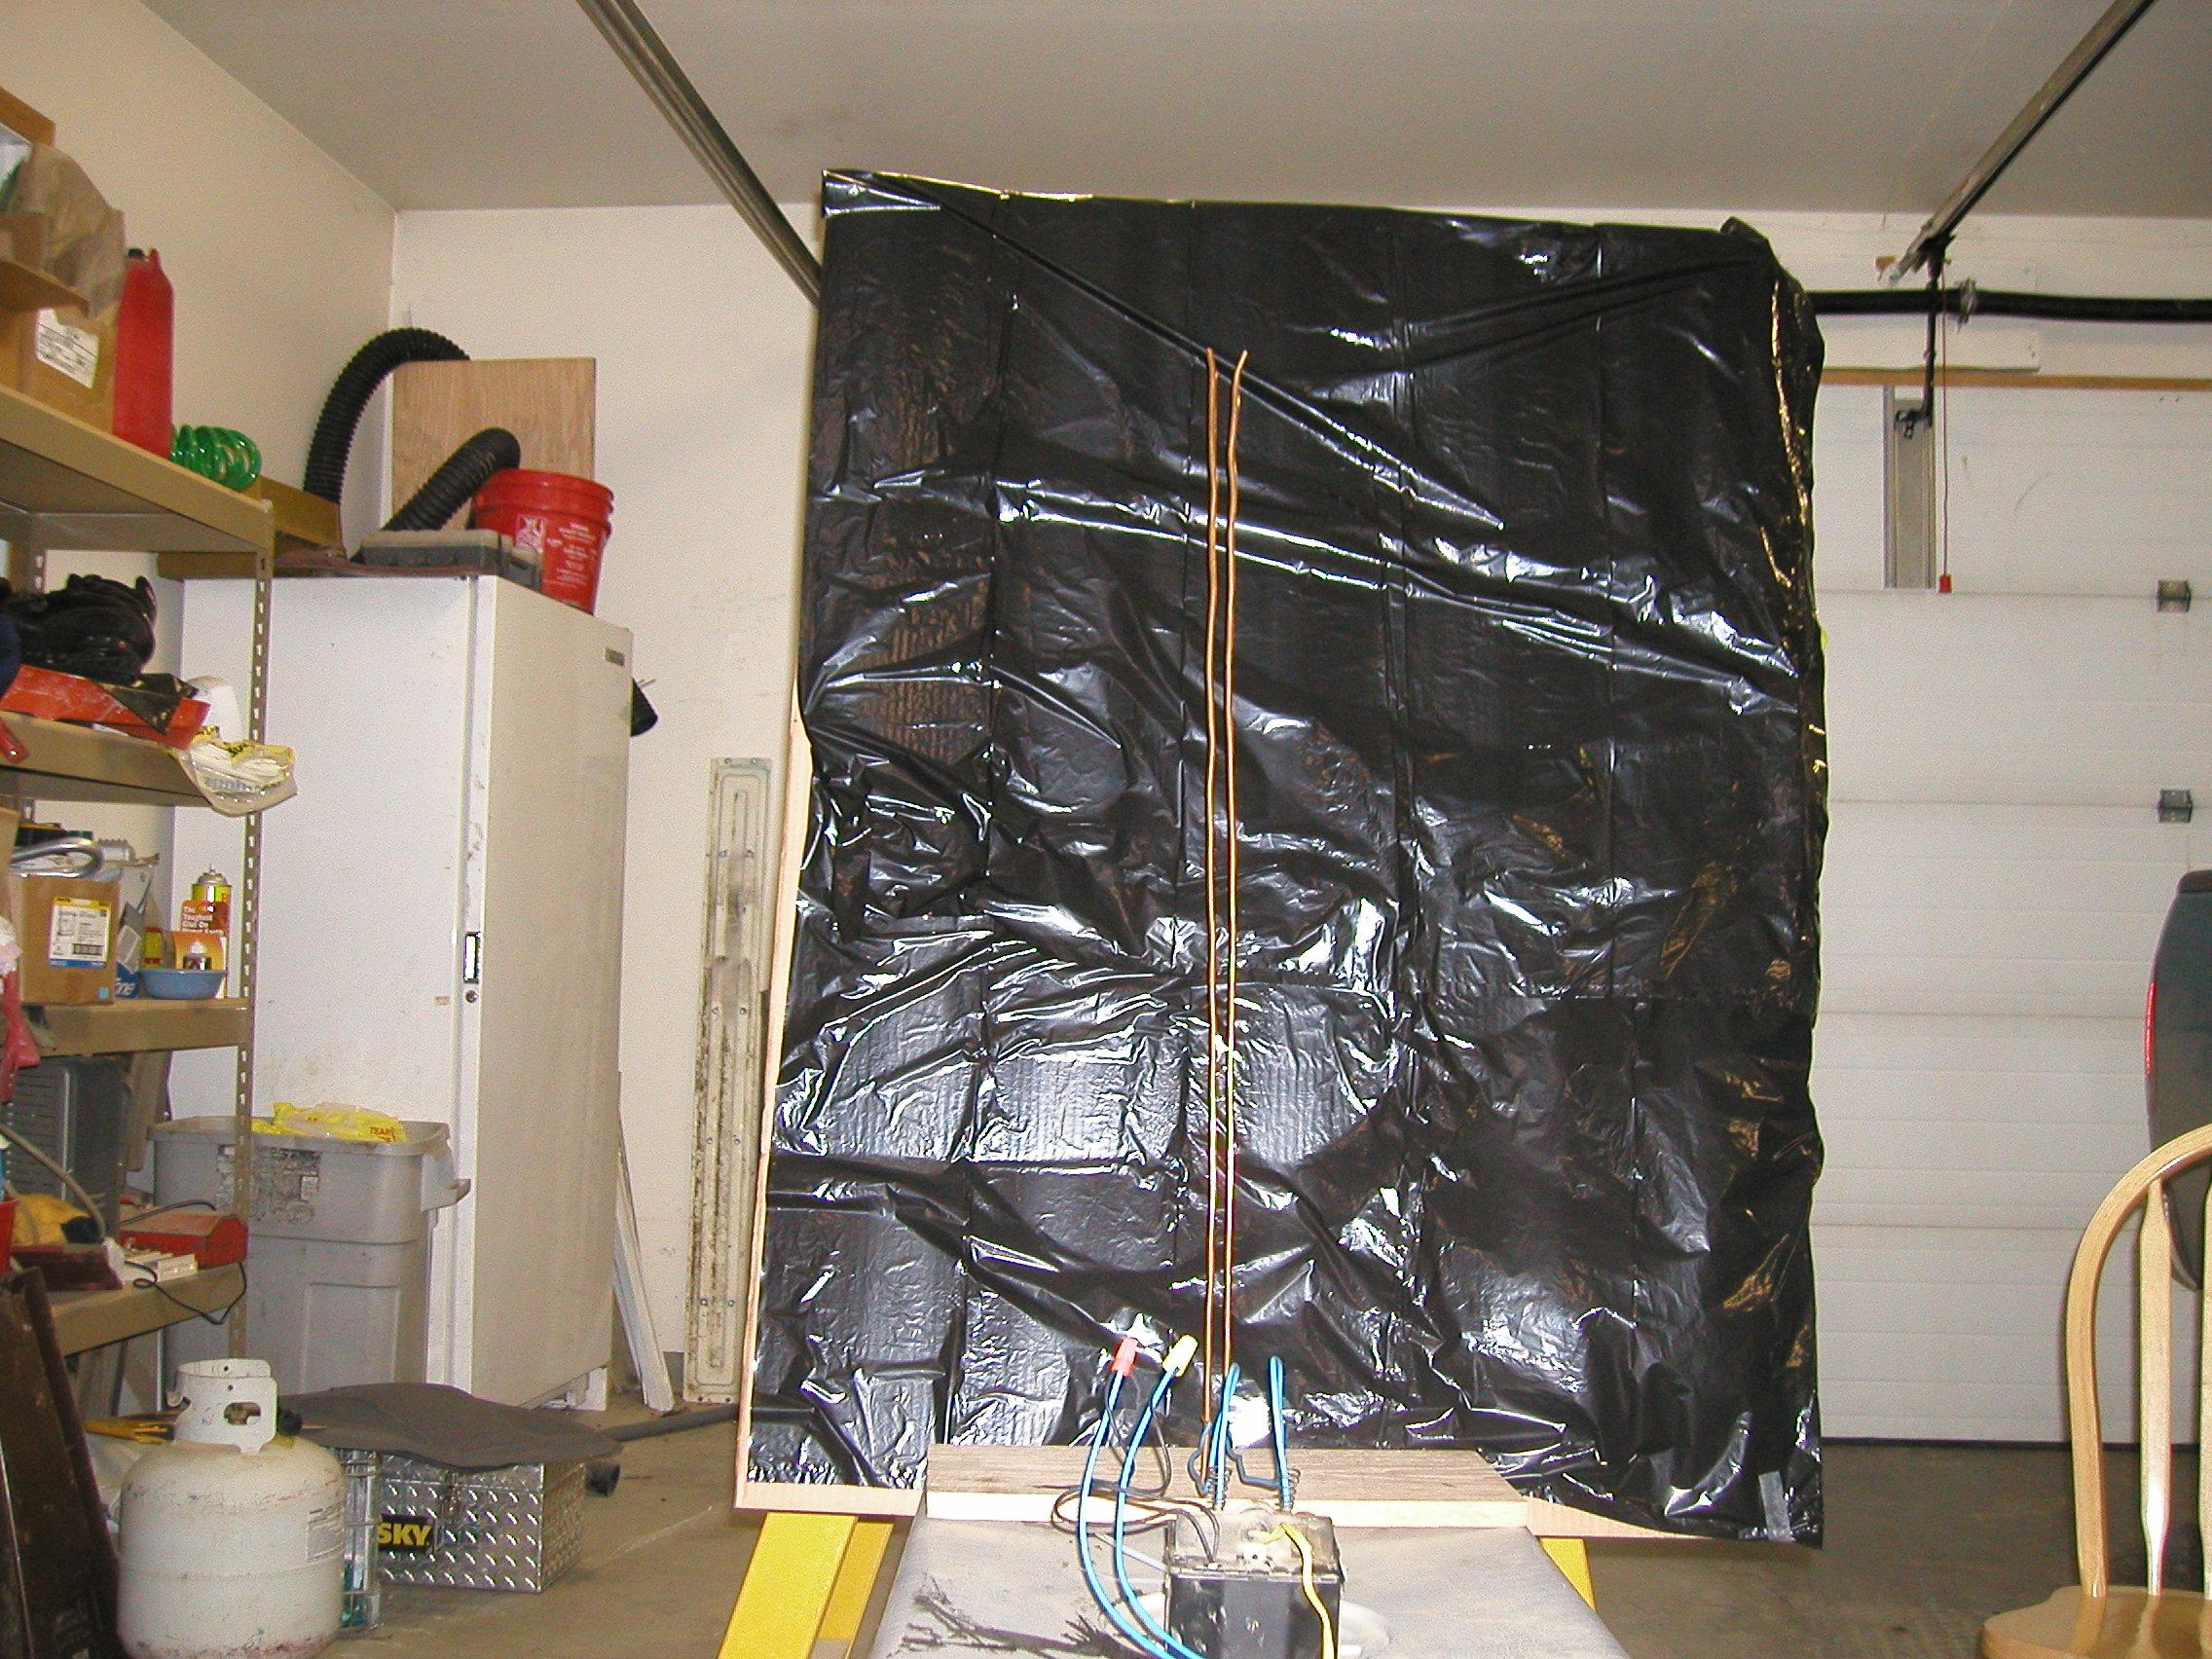
Once the equipment was set up the ladder was ready for testing.
NEXT