Step 1: Observe
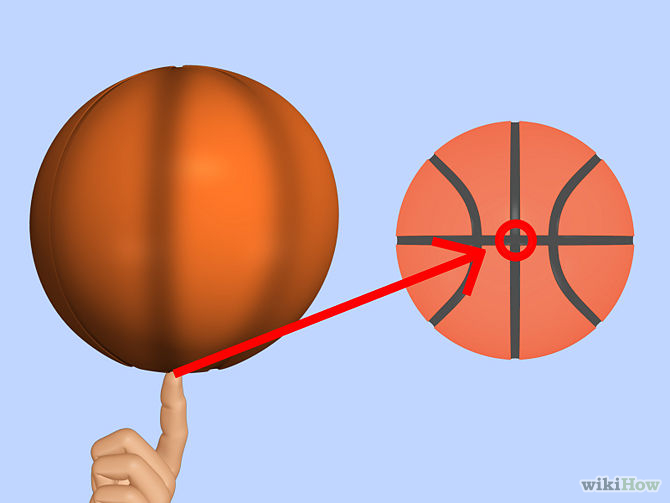
the Basketball Observe the basketball's groove locations and notice an intersection. Your basketball should look exactly like this on the other side. |
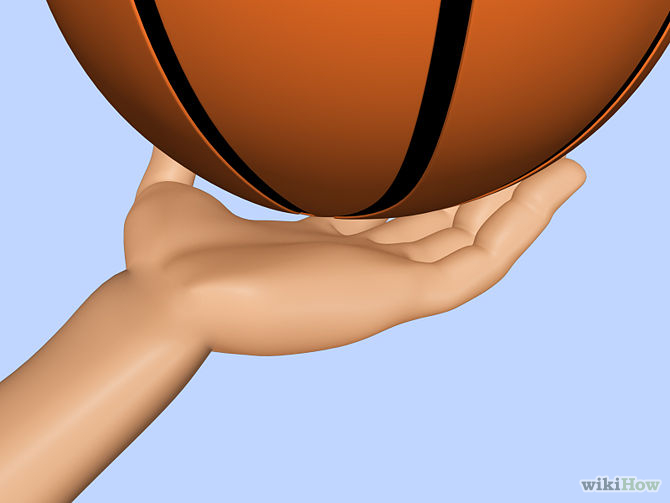
Step 2:
Ball Placement Place either intersection in the center of palm of dominant hand.. Tips: Make sure ball is dry and well inflated to meet the PSI requirement which is usually located on the box or engraved on the ball near the needle insertion point.. |
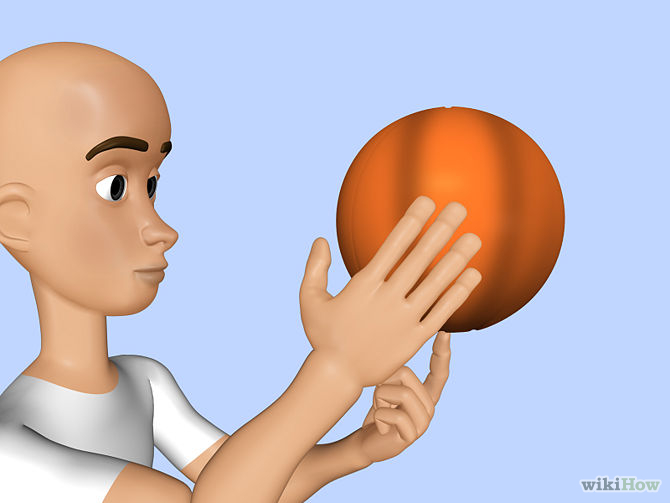
Step 3: Spin the
Ball Using your other hand (assuming you only have two), place it in the position shown below, and grasp the ball and spin the ball in the direction of dominant hand. IE: Ball in Right Hand -> Spin Right Ball in Left Hand <- Spin Left |
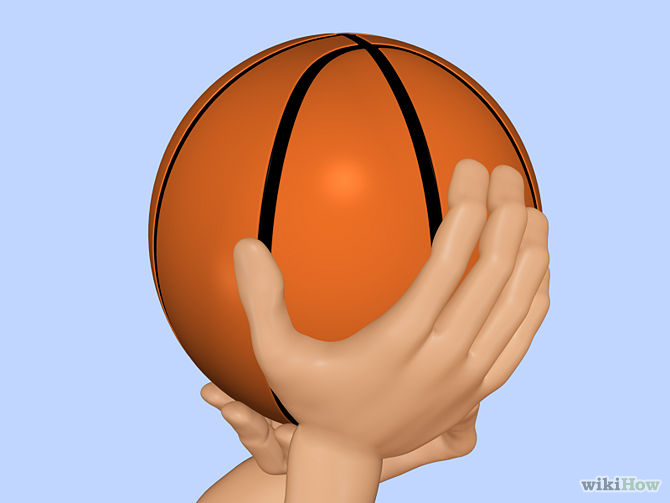
Step 4: How High
to Toss Ball When you spin the ball, gently toss it about to eye level. This way you will avoid any chances of over extending your catching finger. |
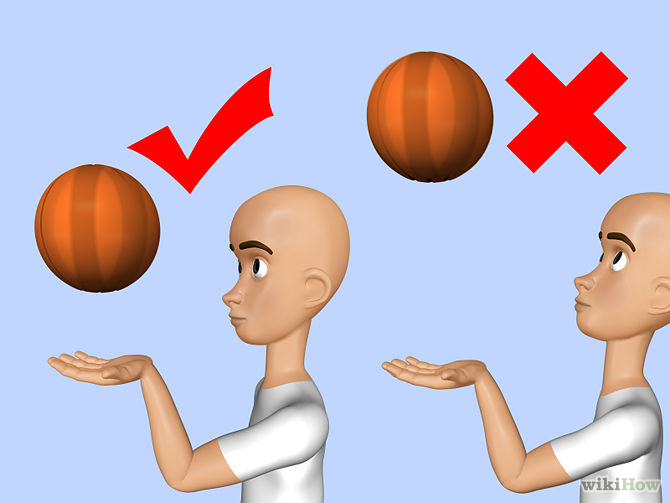
Step 5: Catching
Spinning Ball After tossing the basketball in the air, place a finger in a straight position. Then raise hand until about an inch away from falling ball and then follow the ball down about 4 inches until your finger has contact with the ball. |
Step 6: Point of
Contact When catching the ball, do your best to align your raised finger to the bottom of the basketball (which should be the intersection) as shown below. Tips: Make sure your fingernails are trimmed and your hands are fairly clean. Otherwise you can break a nail or not get any finger friction. |
Step 7:
Continuation using Momentum If your interested in duration of spinning ball on hand use the opposite hand and gently slap and pull in the direction of rotation and maintain a stiff finger. Tip: Remember to take a break because this can be quite tiring every once in a while. |
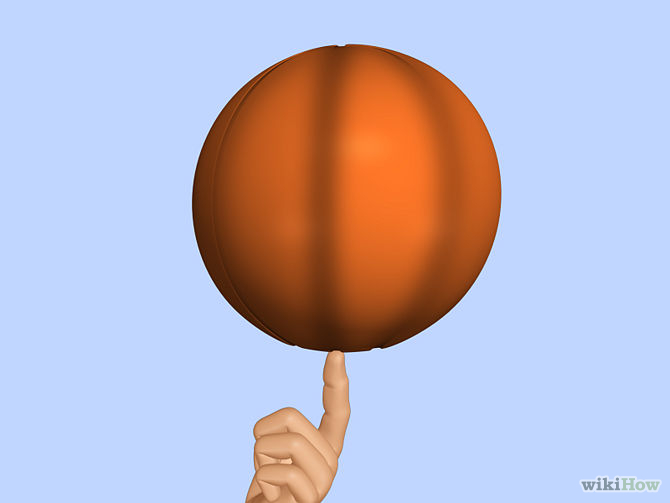
Step 8: Be HAPPY! Congratulations!! You have just mastered the fine art of spinning a ball on your fingertips. Now you are 1/1000 steps closer to becoming a Harlem Globetrotter! |